


You can do a lot to make life easier with the tools you have and about $100.
First off, go to Home Depot or Lowes. By a sheet of 2" thick rigid insulating foam. Lay it on the ground. Put your plywood on top of it. Congratulations, you have full support to break down a full sized sheet of ply. Later, if you want to get fancy, glue it to a cheap piece of ply and you have yourself a multi-purpose work table.
-
While you are at Home Depot, go to the shelving section and buy a long piece of melamine coated shelving. Maybe 6' if you can find it. It can be pretty narrow. Melamine shelving is a machined product that has a pronounced 90° face. Now screw or glue it to a piece of 1/4" thick Luan or similar ply panel. Place your track saw up against the 90° edge and cut the panel. What you are left with is a zero clearance track guide at a perfect straight angle to your saw. Place the guide on your cut mark, and that is exactly what you will cut to. You can scale it as long as you want, and it will give you very straight cuts.
-
Buy a Kreg pocket hole jig. It is the easiest joint to create and use, and while not aesthetically pleasing where exposed, it is very strong and very fast. Half of my house is held together with pocket screws.
-
Glue - Tightbond wood glue is great. I am partial to type 3, but it doesn't really matter. Doesn't take a very thick layer to perform a very strong bond. You just have to clamp it correctly and give it patience.
-
Finish - Buy a pack of the blue or green scrubbing pads at your local grocery store. (Scotch Bright). These are the equivalent of fine steel wool, but they hold together better and any bits they leave in your finish won't rust. They will also help knock down some of the fuzz that comes up when you wet the board. Two to three coats of stain, then let dry for a few days. I spray poly now, but before that, wipe on poly was the world's greatest finish. Each coat is about half a coat of brush poly. I would put on two thick coats about thirty minutes apart (flood coats), usually via an old t-shirt. Let them cure for 48 hours, then take a window scraping blade or a card scraper and gently scrape all the surfaces smooth. Scratch it up a bit with 220 grit sand paper, clean it off good, and put the final coat on. This gave me a very smooth finish that doesn't retain dust.
-
Bonafides: I spent my first 10 years of very amateur woodworking with little more than a drill, a circular saw, and some patient downstairs neighbors in my apartment complex. Now I have tens of thousands of dollars of woodworking tools. The only difference in output now and 30 years ago is experience and the number of things I can do in a given amount of time.
I built this 20 years ago on an apartment balcony with nothing more than a circular saw and corded drill"
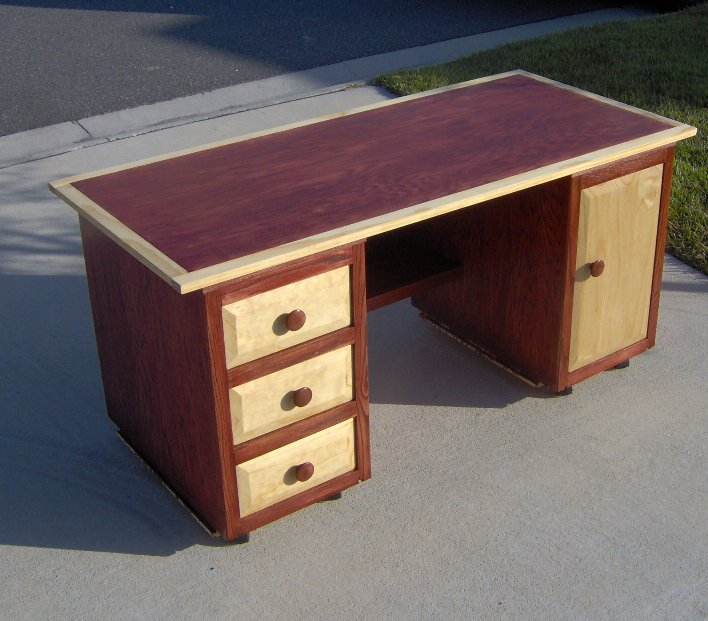
I built this desk not too long ago with a few more tools that made it quicker:
I'll give you two final pieces of advice and an offer:
1. You will never save any money building furniture over buying it.
2. Never offer or agree to build anyone anything for money. It will never be worth it.
Offer:
I live in Windsor, and I would love to be able to save other people interested in woodworking from the years of bad mistakes and hard lessons I learned. So if you want to cut something or try out a particular tool, let me know, and if I am around, you can come play in my shop.

Colorado AR-15 Shooters Club Discussion Forums
Welcome to the Colorado AR-15 Shooters Club Discussion Forums.


 Reply With Quote
