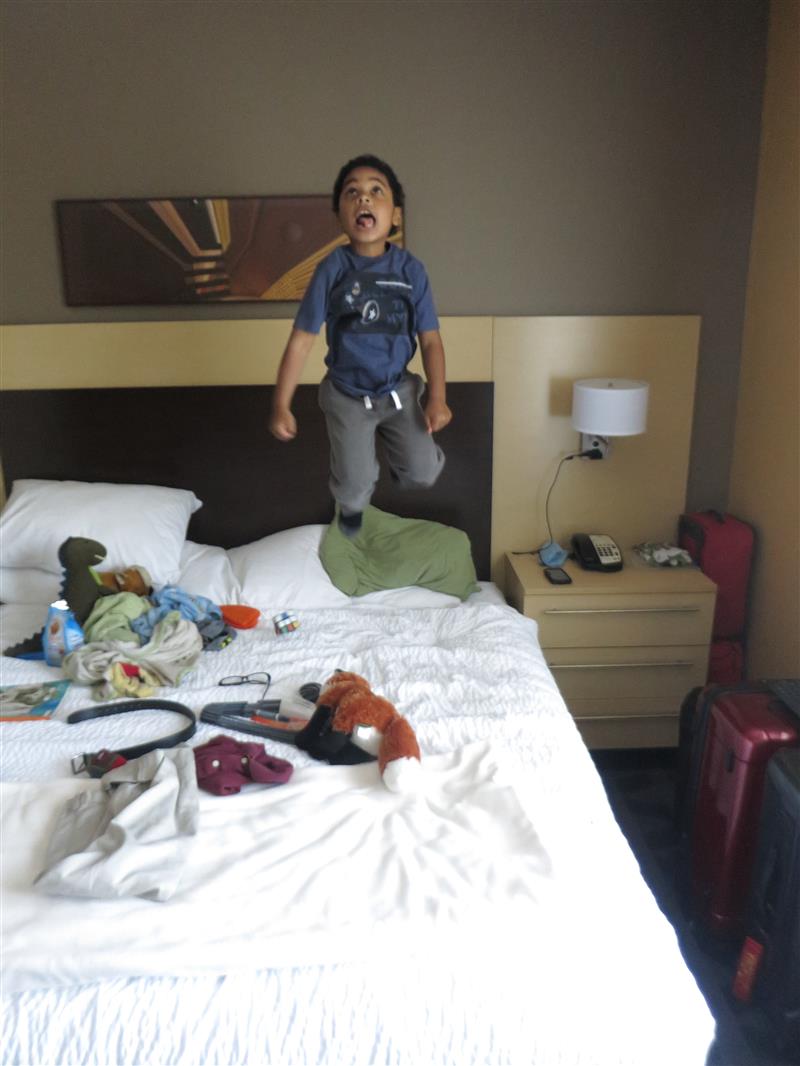
My son is 7. He is drowning in toys that have taken over our house. His room is on the small side, and between his dresser, bed, and bookshelf, he is out of space for more furniture. So I figured I'd build him a storage platform that the bed could rest on. The only problem is that my son has the sheer destructive power of a low-yield nuclear bomb. He loves to jump on the bed, and has already broken his old bed frame and box spring. This is pretty typical of the condition I find him in:
He's way too much like his father to be in any danger of rapture.
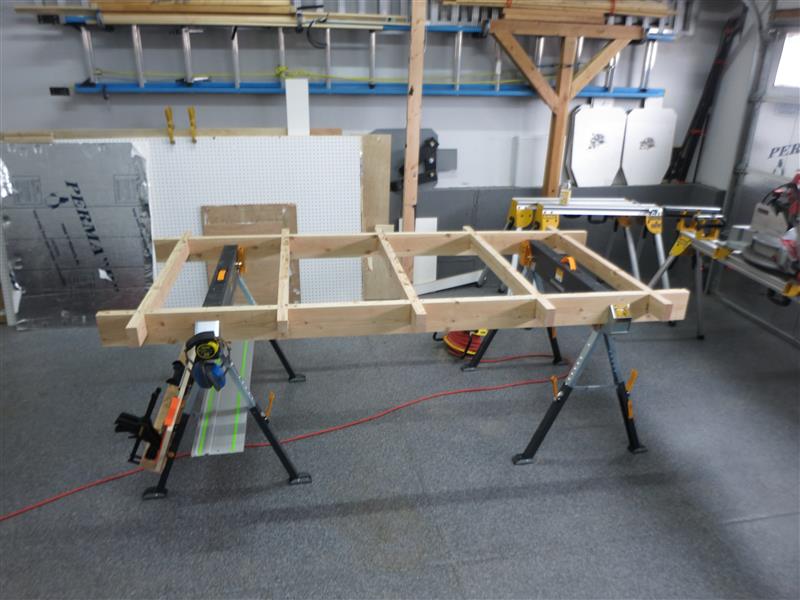
Consequently, anything I build for him has to be pretty much bomb-proof, or built like a supply crate that is going to be air-dropped. I also have about six hours a day to make significant progress on anything I build, so this may take a while. However, the first 80% always goes by pretty quick, and I thought I'd share the process for other aspiring wood workers or child containment enthusiasts.
Day One
This is the moment before the very first cut, when you realize that this is your very first chance to mess everything up. I've got two sheets of 3/4 'baltic' birch, and a 1/4 sheet of sandeply from Home Depot. I put 'Baltic' in quotes because real Baltic Birch is a fantastic product with thick, even veneers, which this is not. It's also probably from Canada. However, it is a step up from the void-filled, paper-thin veneer'd crap that Home Depot puts on sale for $35 a sheet. First cross-cut made.
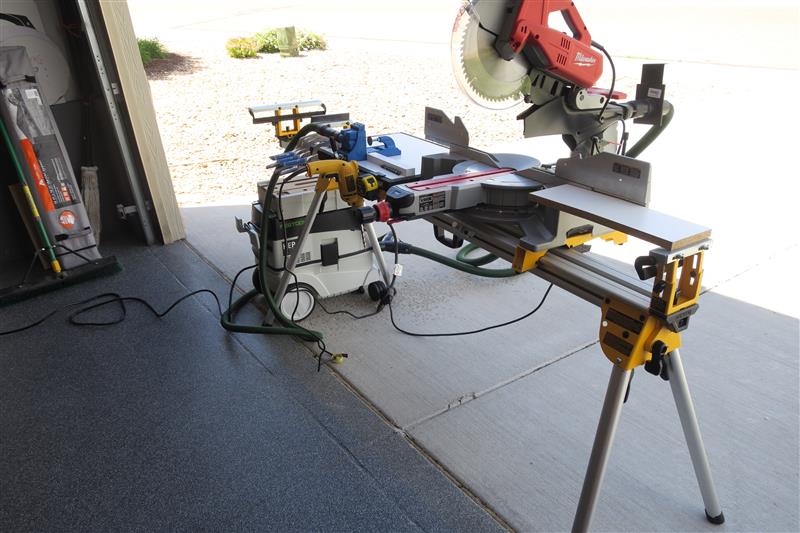
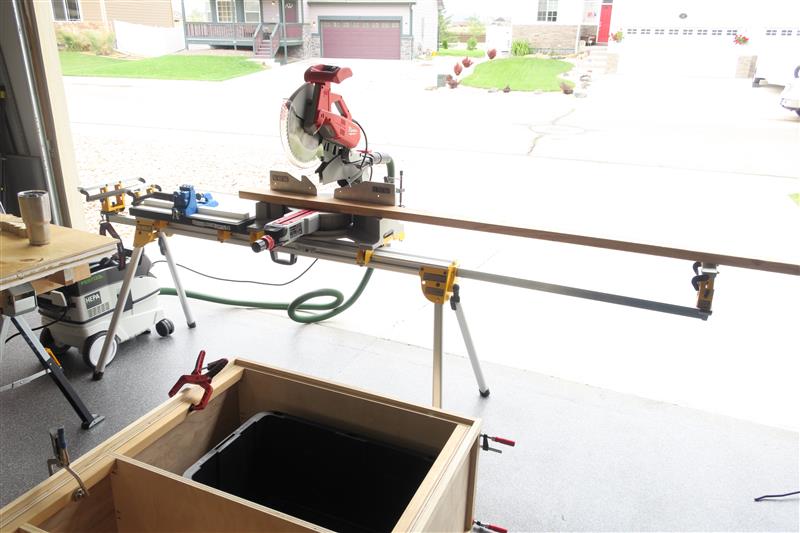
Moved the sheets on the cutting table a little to get some better clamping space, then made the long cut. I have a deep affection for the grossly overpriced Festool tracksaw system. It saves me a lot of time in quick and accurate cuts, and in clean-up. You can do most of the same things with a shop-made cutting guide and a shop vac for several hundred dollars less, but for me, the money was well spent for the time it gave me to focus on the hobby.
Going to route some dadoes and rabbets, which are different names for shallow grooves the same thickness of the boards, with rabbets being open on one length, and dadoes being not.
A quarter inch is a nice compromise in depth in 3/4 material. Plenty of gluing surface area, without compromising the panel integrity too much.
In order to make sure that these grooves line up across both panels, I route them together before splitting the panels.
I run a 1/4 inch rabbet along the long side of the panel for the backer-board. I used the table saw for this cut, in part because the backer-board is not truly a quarter inch, but some metric size like 5mm. Also, it was a little easier to make sure the rabbet would be the exact same across all four boards using the table saw. When I make bookshelves, I usually make a quarter inch dado about a half inch from the back of the panel, which gives me plenty of meat to hold the backer board. In this case, I need the backer board to lay flush to the floor, and since it will be sitting on the floor, any force applied to it will be fully supported.


Colorado AR-15 Shooters Club Discussion Forums
Welcome to the Colorado AR-15 Shooters Club Discussion Forums.


 Reply With Quote