STORY:So I decided to paint the whole car myself.
Started in Mid-June...Ended in Mid-August.
Spent most of my time learning and teaching myself how to do it...or how it now differs from how I did it back in the days of lacquer and chrome.
Found some good videos on YouTube of a guy that teaches a paint and body class.
BACKGROUND:Originally, I was going to paint the front bumper cover and right fender. The expense of all the materials needed to do this led me to seek out someone to just do the fender/bumper ('thank you' to the all the members who helped me find good sources to do this). When I saw the car first hand, I saw there was more work to do to 'make it right'. If I didn't fix them now, they would begin to rust the car to oblivion, and whatever time and money I put into the fender/bumper would be wasted. So I made the decision to repair and paint the whole thing.
SCOPE:
- EXTERIOR
- Hail Damage Dings : couple dozen spots
- Clear Coat peeling off : 2-to-3 spots (especially the roof between the windshield and Sunroof)
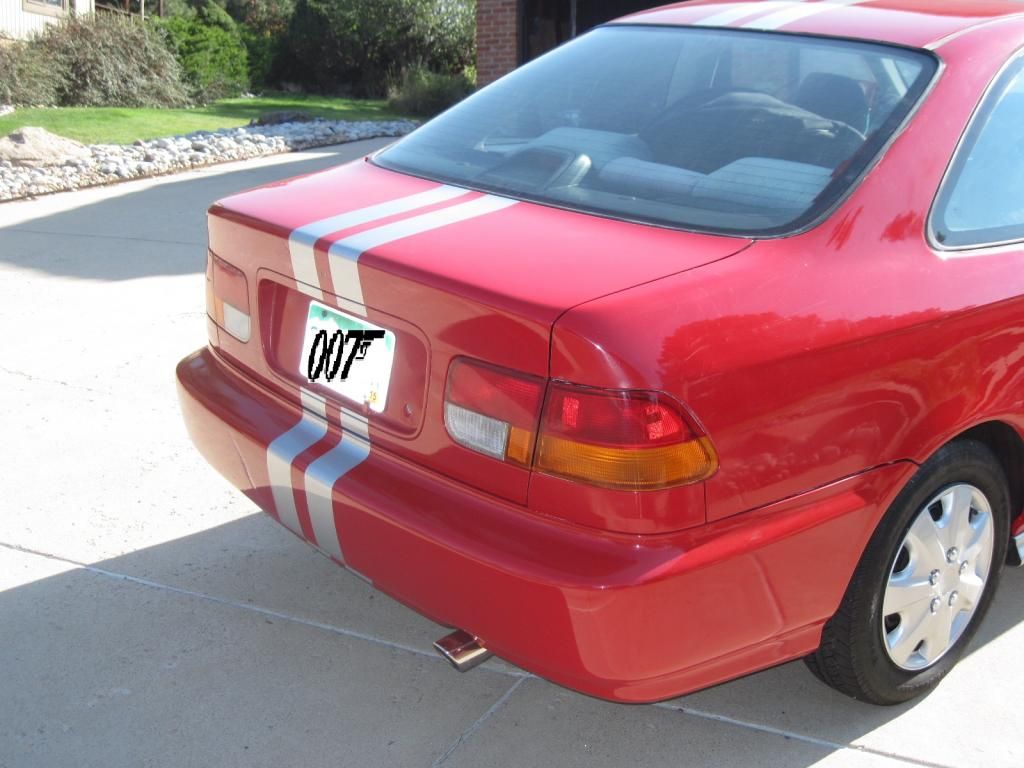
- RR Quarter panel : was caved in about 6" deep from the rear of the passenger door to the back of the wheel well
- Passenger Door: dent 3" deep x 1' x 8" , lower right corner (as facing the door)
- Rear Bumper Cover: Cuts, dents, 1" holes (2-3)
- General Small Dents and Dings : coupe dozen
- 1/2" Dent on Roof, right next to Drivers Door
- Paint: Fading
- INTERIOR
- Replace: Headliner
- Replace: Missing Gas Cap Lever
- Replace: Damaged Glove Box Latch
- Sew Seats: Various rips and tears and splits
- Fill Dashboard: Hole on top where previous owner removed a GPS mount (and part of the dash)
- Carpets: Removed melted candy etc.
PROCESS (Short Version of "HOW I DID IT") :
- Asked for some help from knowledgeable people, but could not get anyone to really take time to help
- Watched a BUNCH of YOUTUBE videos
- Called PPG (Paint company) and spoke to their technical service people - They were VERY helpful. Even though I was not 'professional', they spent several hours (overall on several calls) with me.
- Built a paint booth in my garage
- Did the Body Work - Pounded out dents, filled lightly with filler or glazing compound, using dry sanding guide and sanded/feathered (64 grit -to 400 grit)
- Removed whatever I could (Lights, molding, bumper covers, mirrors etc.)
- Masked off the car
- Got the paint - changed color to metallic, as I wanted a bit of sparkle (used a color 'close' to the original so I did not have to paint the jams, under-hood, inside trunk, etc.)
- Spot Primed what I needed to on the body (Saved the plastic stuff for a separate process)
- Roughed the car up with wet sanding using 600 grit
- Practice Painting : Found some Steel Bookcase shelves to practice on to determine how to set gun pressure/paint feed (Primed/Painted/Cleared)
NOTE: VERY helpful to prevent messing up all the body work with a bad paint job - Painted and Cleared Body: By the time I started this, it was mid-July. I had reducer for 70F, but it was never 70F except at night. So I did the painted from 9:00PM to 10:00AM, when the temp was 60F-75F. Waited 15-30 mins for flash time b/w coats
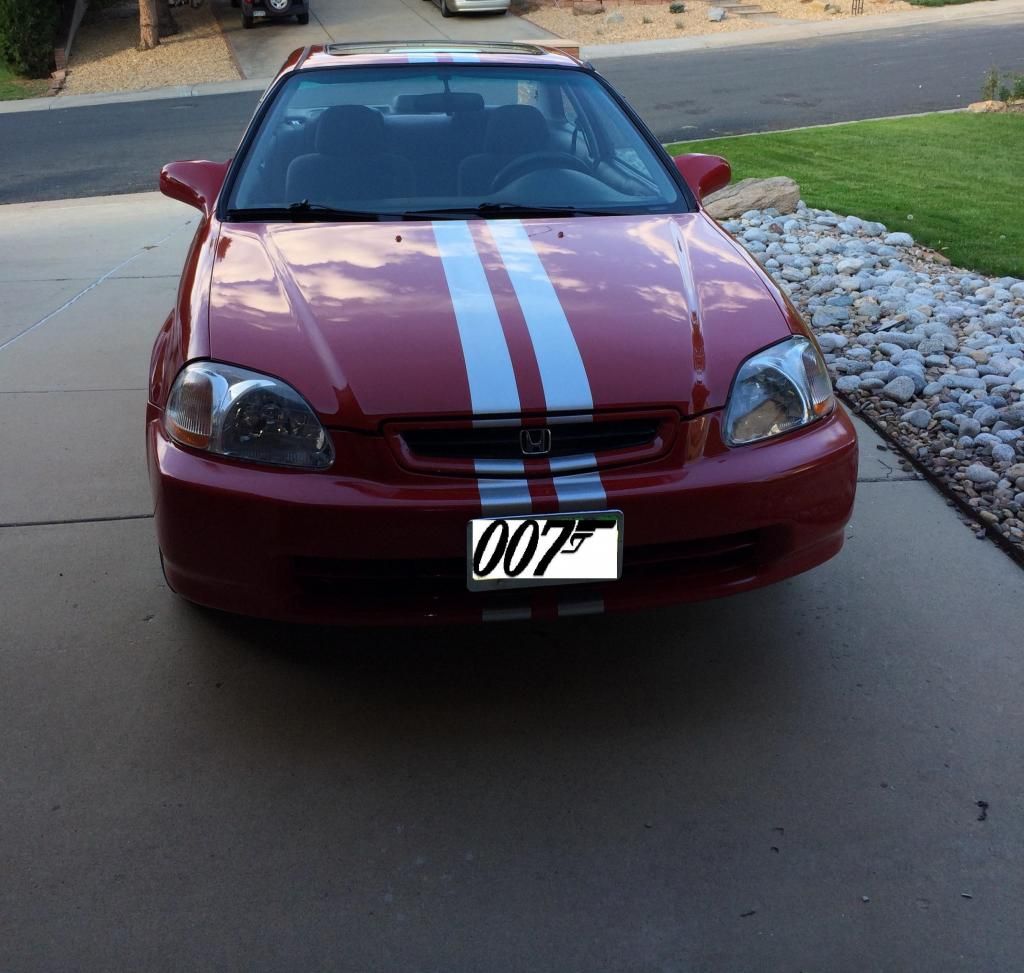
NOTE: Rally Stripes - I put these on for ME...just to see if I could still do it 
- Primed the Plastic stuff with a primer with an Adhesive Promoter in it
- Sanded the plastic (600 grit)
- Painted and cleared the Plastic
NOTE: Did NOT use flex additive in the paint. Seems there are 3 camps regarding this (lots of opinions, with none clearly the 'RIGHT' way) ;
a) those that think it is necessary for the paint to remain flexible for the life of the car ;
b) those that think it is only useful to keep parts from spiderweb-ing when flexed during installation and
c) those that say if you are careful you don't need it.
(PPG and the guys at the paint store said that it pretty much evaporates after about a month and no longer serves any purpose)
So I was careful handing the stuff and did not use any. - Let Dry for 2-3 days
- Removed Runs - used 400-2000 grit, lots of soapy water, and a very THIN/NARROW sanding block & razor blade to remove runs
NOTE: Only had 2-3 in the clear ; none in the paint (or I would have sanded them BEFORE clearing) This was due to the fact that for the Clear, I used disposable paint cups, so I didn't have to try cleaning out paint from my primary cup, that was hardening , due to a catalyst. I put the cap on the cover and prevented to cup from 'breathing'...so it drew a vacuum and spit and sputtered.
I didn't see this on the 'practice panels' because they were too small and the vacuum wasn't that strong; but when I cleared a 4-8 foot section, it showed up.
I resisted the temptation to try and fix it while it was wet, let it dry, and put a couple extra coats on those areas because I knew I was going to have to sand it a bit harder/more. - Color Sanded Car : 1000-2500 grit
NOTE: Although this is called color sanding, you are really sanding the clear, and trying to get out any orange-peel and 'flatten' the surfaces - Machine Polished Car: Used 2 to 3 different 'grits' of Maguire's polish to buff out the 2500 grit 'scratches'
- Assembled the car (lights etc.) - do not put on any parts that need adhesive, like the "H" logo etc.
- Wait 90 days
NOTE: Because the paint is an evaporative coating (Mix paint w/ reducer, apply, reducer evaporates and leaves thin film of paint), and I was not able to 'bake' out all the solvent like a body shop can, I needed to wait a while for it to evaporate out on its own before waxing. Otherwise, the wax could seal in the solvent and cause the finish to 'bubble'. - Wax car/apply sealant and put on any parts that need adhesive/double-faced tape, like the "H" logo, the "Civic", etc.
- Do the INTERIOR work
- Psych myself up to realize that when my son takes the car back ...it will never look this good again
- Turn the car over to my son, to take back to CSU
- Clean the garage....
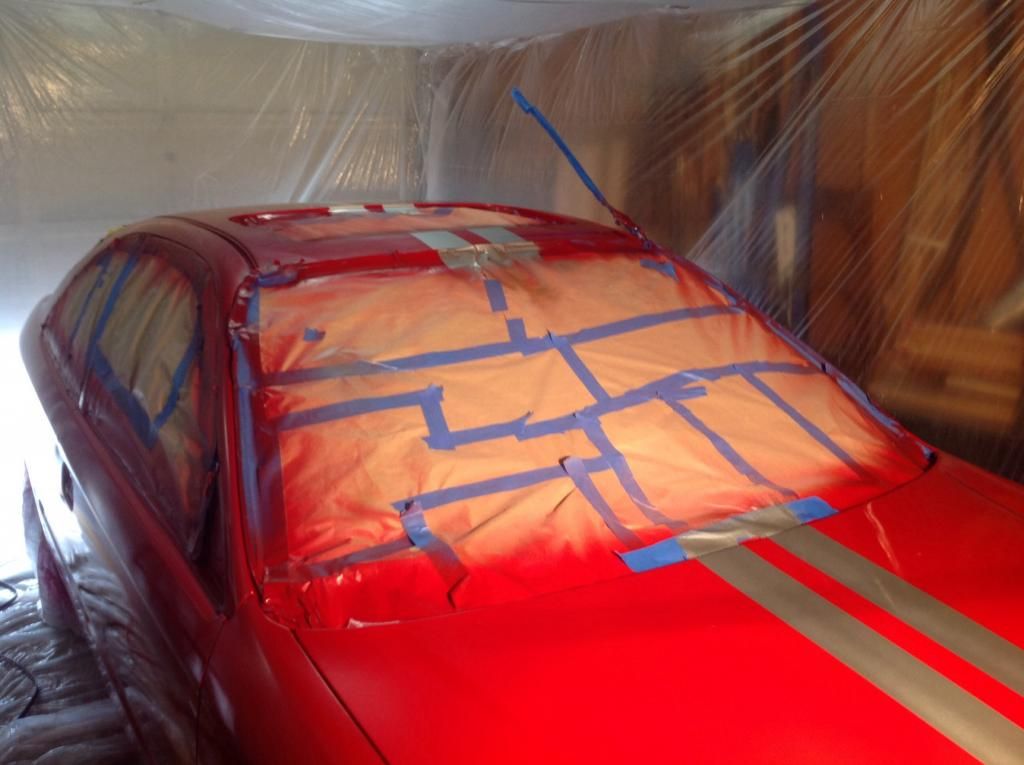
(Didn't want to remove the Antenna cable from the whole dash, so I just pulled it out a bit and masked it.)
(Finding a centerline for each section of the Rally Stripes was a BI#CH, as a lot of areas were curved)
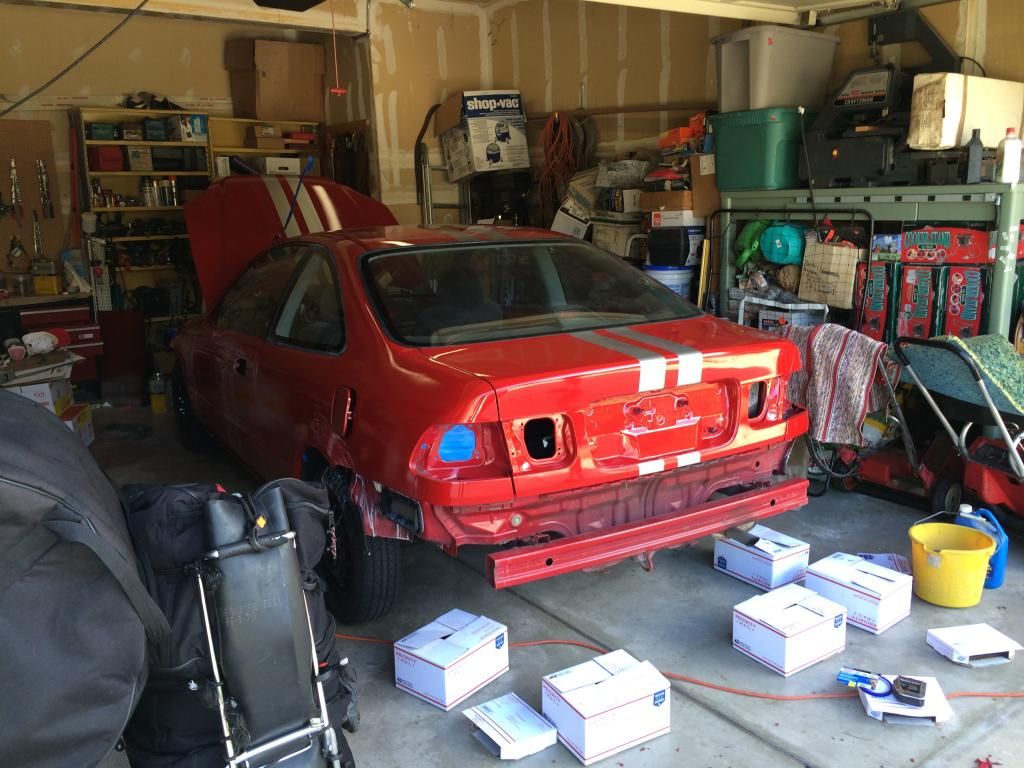
(USPS boxes were so I could set my bumper cover on them, have them be almost level with the final placement, and not flex the bumper cover too much)
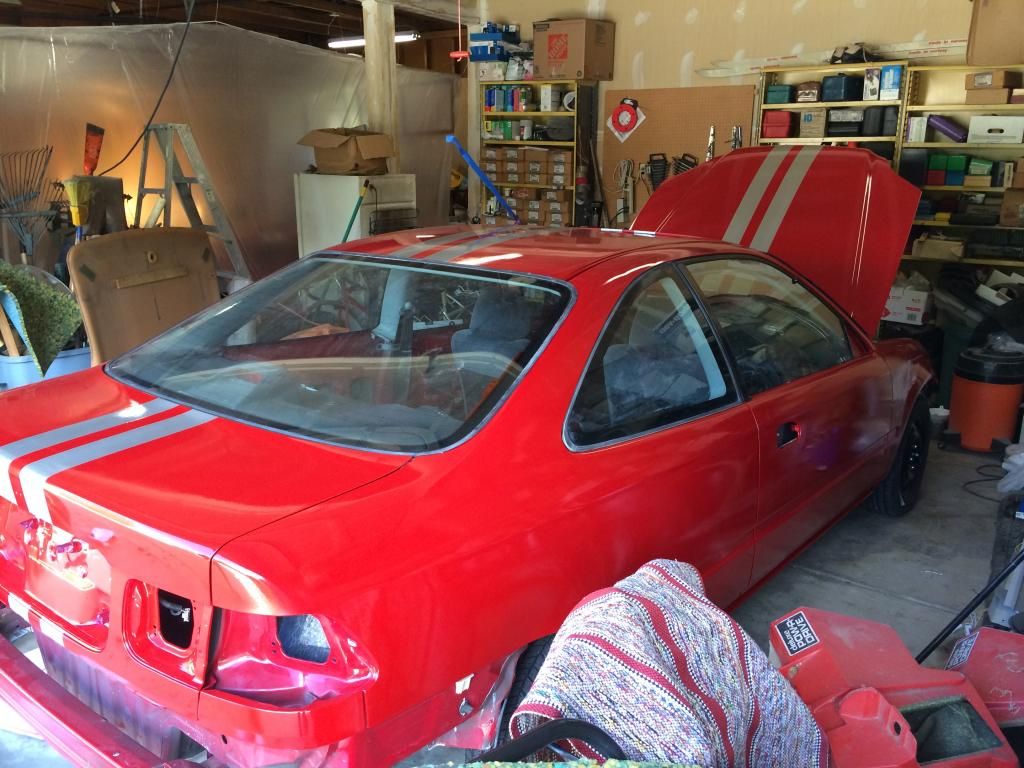
(SNIPER7, does the ladder in the background look familiar ? )
("Paint Booth" on the other side of the garage, in the background)
(Still have to clean some of the polishing compounds out of the nooks and crannies in this shot.)
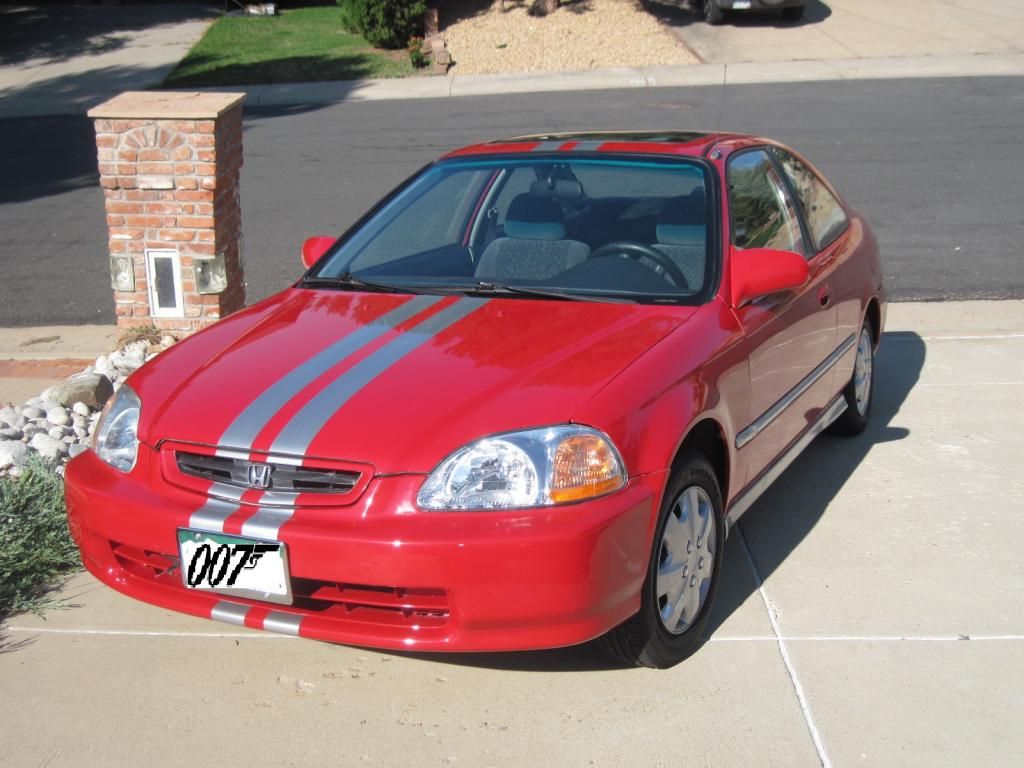
(Nice reflection of the tree off of the hood)
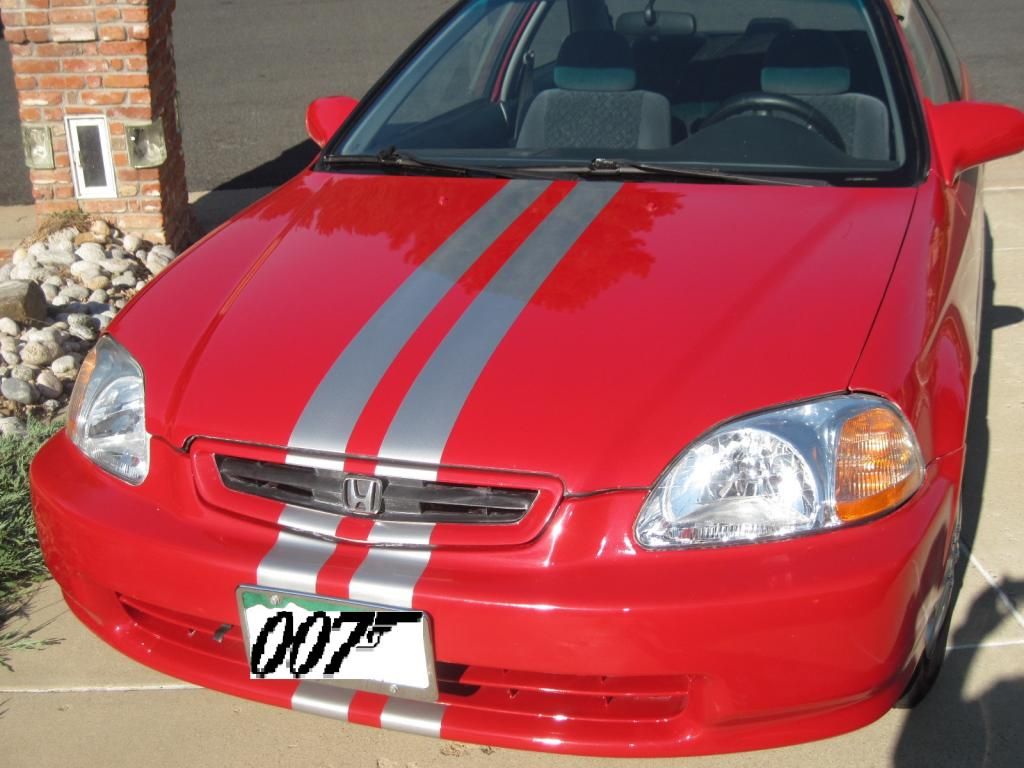
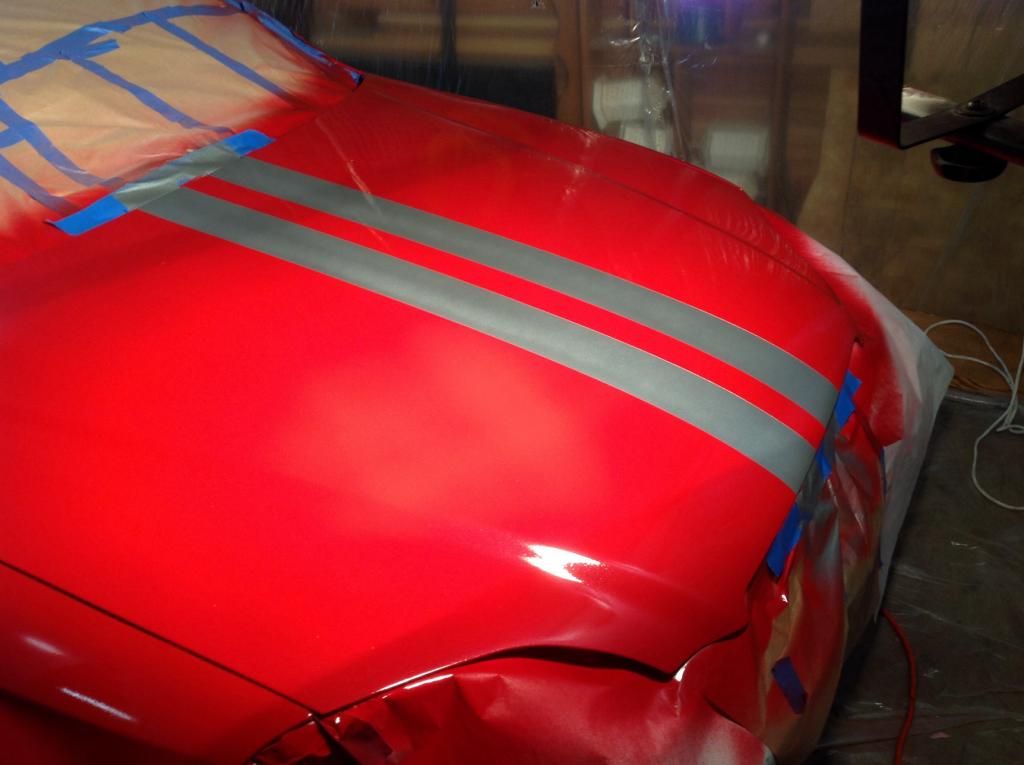
(All the striped sections line up pretty well)
(Didn't want the washer 'jets' to be 2 black spots on the hood, so I painted them to match.)
(Thought I'd change the side molding from RED to Silver and the Skirt from Black to Silver, to go with the Rally Stripes)
(This was the side that was really caved in about 6". I took the inside panels out and hammered it out, so I only had a thin layer of filler/glazing in the end)

(This bumper cover was beat up pretty bad. I filled some of the holes and melted in some plastic from some other parts I had to discard )
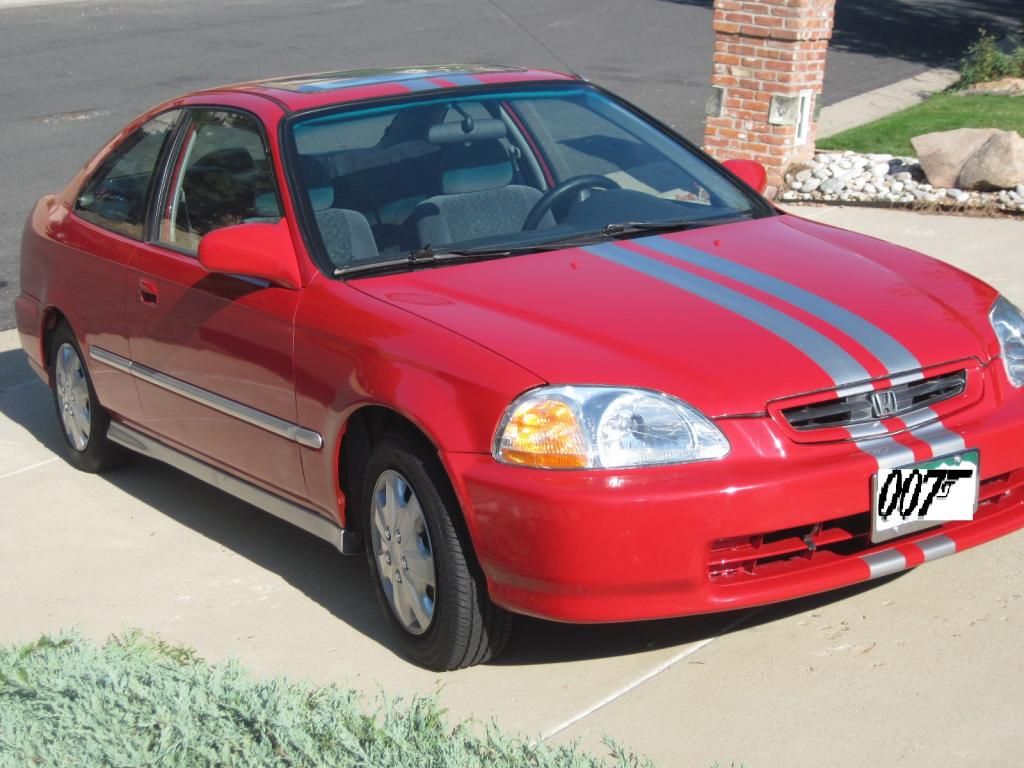
(Just trying to show that the finish ended up pretty flat, so that you could read some reflected writing, and that it was not too wavy or blurry)
SUMMARY:1) COST: $600-$800 (all materials, including the stuff for the interior, and some tools)
2) TIME: I did not keep track, but I spent more time watching videos and learning what TO and NOT TO do, than the actual work.
3) SATISFACTION: 110% - I was really pleased with how it came out, considering all the hurdles.
Thanks for taking time to look at this post.
IRONY: While I had my son's car, he had my wife's car. When he returned it, the rear bumper cover was bashed in on one corner. He 'said' someone backed into him during the CSU student move in process (aka hit and run).

So now I have another paint and body project...(I get to learn about 'blending' this time)

I didn't and don't intend this post to be a "HOW TO" guide.
I didn't chronicle and record all my steps or add up my time.
I just wanted to get it done.
So I posted the few intermediate pics I took to send to my son to show him how things were going.
As I think of things and get time, I'll post some 'tips' and 'lessons learned' that I feel are important; things I would have done differently, in retrospect.
I know that others may disagree, but these will be my opinions.
I wasn't an expert when I started
...and I'm not one now
...but I HAVE LEARNED A LOT.


 Reply With Quote


